Saturday, October 19, 2013

Smart Armor Update!

Smart Armor

View Full Build Thread Here


Hey everyone,

Over my fall break I resumed work on my armor, and over the past few days I have come leaps and bounds towards finishing the project. Hopefully it'll be finished before Halloween rolls around!
Yesterday I finished cutting out all the pieces and put a starting coat of paint on everything. One of the more difficult parts to work on was the gauntlets. There were no templates available for these, so I decided to design my own. The first thing I did was to determine the general dimensions of my forearm, which I then split into corresponding regions, in the shape of triangles (triangles are a lot easier to work with than rectangles in this case). By splitting my arm into triangular regions, I was able to tailor the gauntlets to a very exact degree. Below is a picture of the final template for the gauntlets.

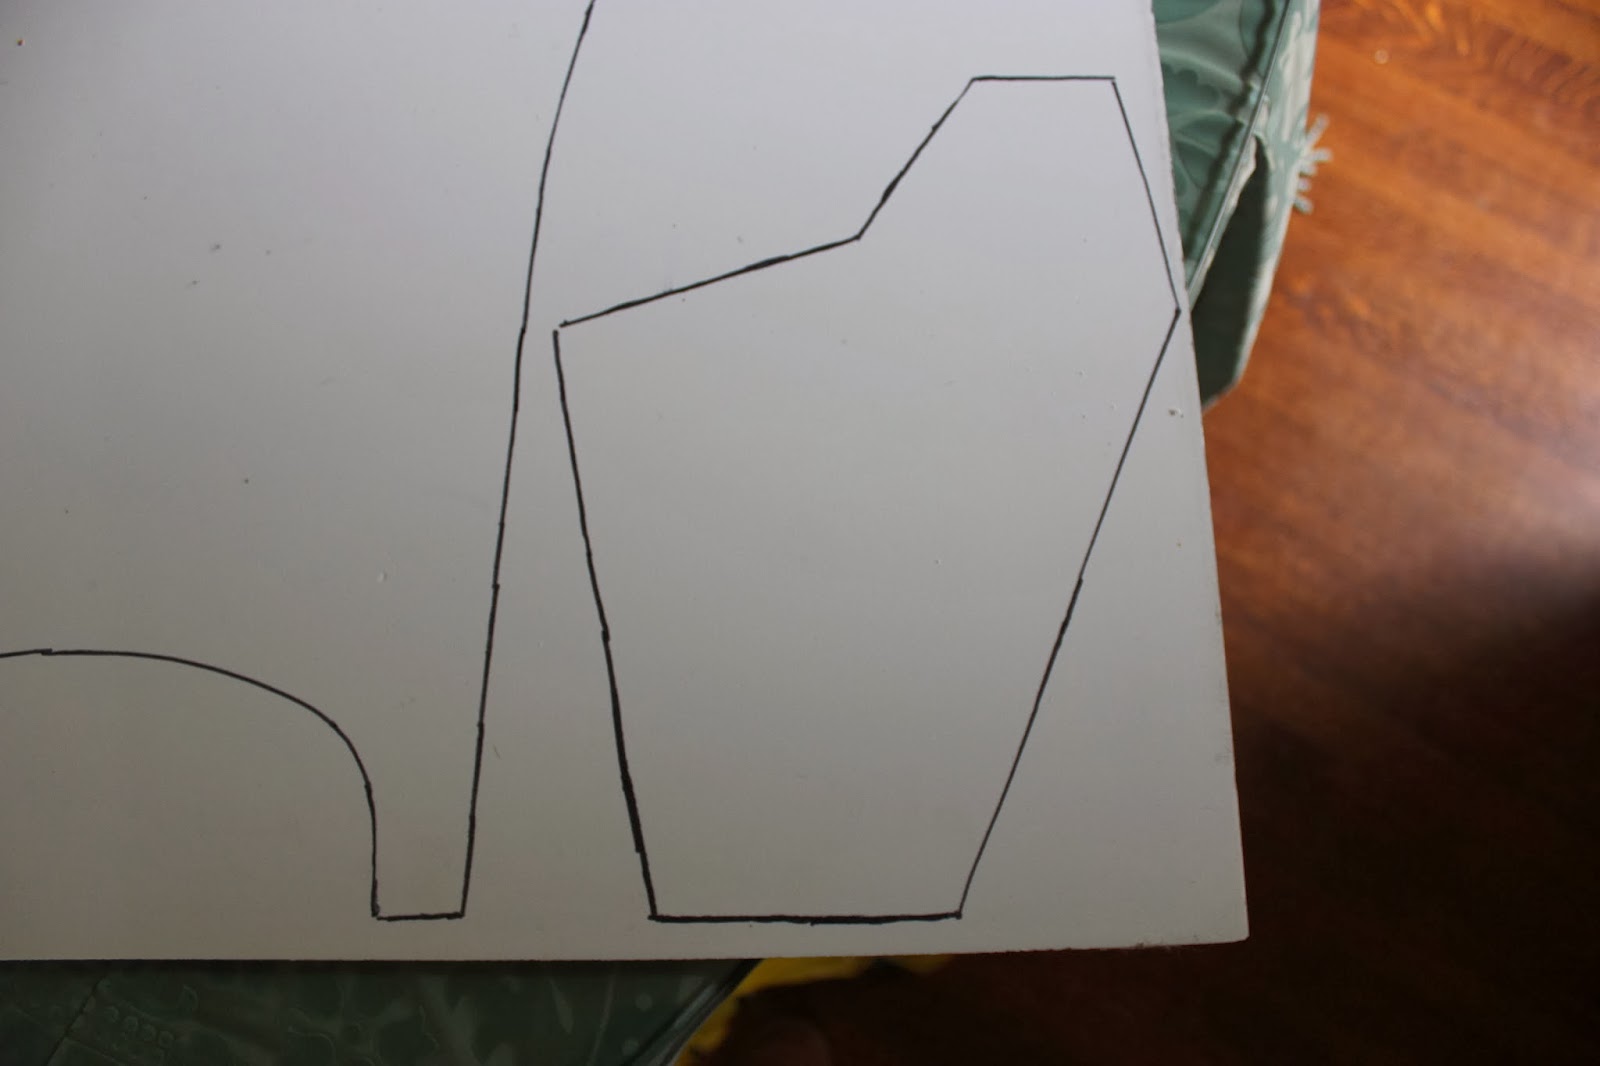


After I finished cutting and shaping everything, I dropped by Home Depot and grabbed some spray paint. I wanted to go with a sort of stealthy gray and red look. Unfortunately, Home Depot did not carry any matte dark gray, so instead I purchased an array of paints that I hoped, when combined, would get me the look I was going for. This all turned out for the best, as you can see in the photos below. First off, I dusted everything in a light gray primer, which allows the paint more purchase on the plastic. Next off, I covered everything in a very light coat of "hammered metal" paint, which resulted in a light gray. After that, I dusted everything in an extremely light coat of dark brown, which gives the armor the mottled appearance you see below.

After hammered metal, before brown:


After brown:


Today, I woke up and began applying the red highlights. Unfortunately, it was raining outside so I could not get pictures of the process; I was dashing back and forth trying to keep everything dry! Below is the result.


Tonight I will be attaching the armor to the suit itself, so stay tuned!

Wednesday, September 18, 2013

Computer Desk

Hey everyone!

Earlier this week I was approached by a friend who is an avid coder and wants to build his own computer. What made this special is the fact that he not only wants to build his own computer, but he wants to integrate it into a desk, turning a piece of furniture into something that one can interact with. He asked me to assist in the design and production. The idea is to have a slim, simple, yet appealing desk with cutaways in the surface, covered by glass, to reveal the computer components beneath, which will be backlit by dark blue diffused LEDs, giving a nice soft blue glow to the parts beneath. In addition, we will be including a swinging keyboard that can be concealed beneath the desk when the computer is not in use. Here's the first concept design (apologies, I mocked it up in about ten minutes so it's really rough) where you can see the basic design and where the computer parts will be visible.


Monday, September 2, 2013

Returning to the i-3 Experience!


I am extremely excited to tell everyone that Alex Lin and I will be returning to the Georgia Tech i-3 program this year, not as students, but as interns. I absolutely loved participating in the i-3 experience last year and wanted to continue to be a part of the amazing program. Recently I contacted Chanteal Edwards, one of the program's administrators, about returning as a volunteer.  It's official: Alex and I will be designing base curriculum and fabricating prototype robotics projects to be used for the summer camp. We will also be working on a special project used for recruiting more students. Anyone interested in attending should follow up on the link is below. I Can't wait to get started!

Link: i-3 Program

HMD Update

HMD Update

View full thread here: HMD Display Thread

Just wanted to update everyone on how the armor is coming! The Sintra came in and I've been cutting and shaping it for the last month: here's the armor and the helmet so far, as well as a color scheme idea:


GT CEISMC Engineering Camp

Hey everyone!

It has been awhile. Over the summer, I participated in a camp at Georgia Tech for aspiring engineers.We built quadcopters from a kit made by a GT graduate student, which was very cool . But I have to say the best part of the camp was the challenge that was given to each group: we had to build a racquetball launcher that could compete in contests such as accuracy, range, and speed (maximum balls shot in one minute). The machine had to be set off from a distance and we could not be touching the structure itself when it fired. While there, I learned how to use a laser cutter, a laser engraver, and a water jet, which was a phenomenal experience.

For the project we were given a limited budget which we would use in a materials auction. The auction was a blast, with groups competing for materials and trying to remain under budget. We ended up with two sheets of steel, polypropylene, scrap wood, and, most importantly, an elastic band.

My friend, Alex Lin, who I have worked with before on a UAV, was in the camp with me, and we formed a team consisting of us and two other campers. We decided on a crossbow design using an elastic band. We split up into two groups: the designers and the constructors. Due to my proficiency with 3D modeling, I was one of the designers. I was tasked with the general design of the crossbow, the design of the triggering mechanism, and a stand for the machine. My partner would assemble the pieces, mark the screw points and measurements, and send them on to the other half of our team to put together.

At first, I planned on using the polypropylene as the main component in a structure that would slide and lock together in an elegant method. Unfortunately, the machine that we needed to cut the polypropylene with was not large enough to accommodate our designs.  This resulted in a complete scrap of the design. Instead, I designed the body made primarily out of wood. My personal touch to the crossbow was the stand for it and the trigger used to fire it. I designed these completely independent of the rest of the team. We hoped to win the accuracy and distance competitions, so to maximize our chances I designed a system that allowed us to aim our shots fairly consistently. The mechanism is pictured below, and is a sheet of polypropylene cut in a quarter circle with holes cut in it at specific degrees. This allowed us to insert a dowel through the bottom of the crossbow to aim it. We determined the approximate range mathematically, using our rudimentary knowledge of kinetics. Surprisingly, the final range was relatively close to our estimates. This was a great learning experience, as it taught us to be resilient after our first design failed.
Below are some pictures:

Construction:


The competition:


I got my picture made with Buzz:


Checking our distance:


Buzz even decided to show up at the competition to give it a shot!


Our team receiving our awards:


We were even interviewed about our experience at Georgia Tech!


In the end, we ended up winning the accuracy and distance competition as well as The Best Technical Quality Award. I had a lot of fun and learned some useful new skills!  It was a great experience!

Thursday, August 8, 2013

Architect Shadow

A few weeks ago I had the opportunity to shadow architect Jeff Juliano, AIA, for a day at his Atlanta firm, Collins Cooper Carusi. For the past few years, I've been bouncing between architecture and mechanical engineering as a career choice; I have already shadowed a mechanical engineer, Lynda Herrig at Newcomb & Boyd, so I thought it was time to see firsthand exactly what an architect does. While shadowing, I learned about how to merge harmonious, creative, environmentally-responsible design with a client's budget, as well as how to draw a straight line.

The day was extremely interesting. I actually attended a project meeting where the contractors updated the clients on the status of a project. It amazes me how much an architect has to coordinate, from the construction itself to the photography of the final result. At the end of the day, we drove to Athens, GA, to tour the newly completed University of Georgia Honors Program residence hall that Jeff designed. It is amazing to think that he designed nearly the entire structure, from the custom light fixtures to the wrought iron balustrade. It was a absolutely beautiful building and an enlightening and inspiring experience to visit the site with the project's principal architect.

Check out their website: Collins Cooper Carusi Website

Monday, April 29, 2013

I.R.I.S. Hovering

Hey everyone,

I just realized I forgot to put up a video of our final product hovering, so here it is!